

Introduction:
If you’re trying to fix CORS issues in Flask, you’re not alone. Cross-Origin Resource Sharing (CORS) is a security feature implemented by browsers to prevent malicious websites from making unauthorized requests to a different domain. If you’re developing a Flask API and need to expose resources to a frontend running on a different domain, you’ve likely run into CORS errors. This can be especially frustrating because the error occurs client-side (in the browser) and not in tools like Postman.
If you’re new to Flask, check out our complete guide to the Flask web framework for a solid foundation.
In this blog, we will walk through how to fix CORS issues in Flask, using the Flask-CORS extension and addressing common pitfalls and debugging strategies. Whether you’re new to Flask or experienced, this guide will provide simple and advanced techniques for handling CORS effectively.
Step-by-Step Guide to Fix CORS Issues in Flask
What is CORS?
CORS is a mechanism that tells the browser which domains are permitted to access resources on your server. It relies on special HTTP headers such as Access-Control-Allow-Origin. When a frontend makes a request to a server, the server responds with headers that specify which origins can access its resources.
Learn more about how CORS works from MDN Web Docs.
For instance, if your Flask API runs on http://localhost:5000 and your frontend is hosted on http://localhost:3000, the server must include the correct CORS headers to allow access. Without these headers, the browser will block the response, even if the request is valid.
Common CORS Errors
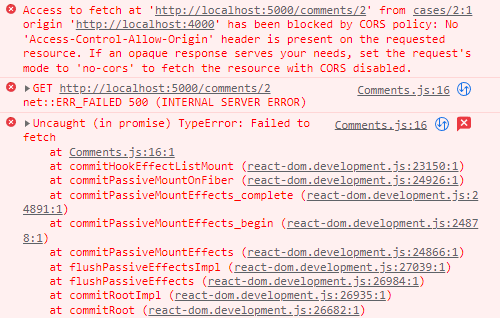
If your browser is blocking a request due to CORS, you might see errors like:
Access to fetch at ‘http://localhost:5000/api/endpoint’ from origin ‘http://localhost:3000’ has been blocked by CORS policy:
No ‘Access-Control-Allow-Origin’ header is present on the requested resource.
Or:
ERR_FAILED 500 (INTERNAL SERVER ERROR)
The first error indicates that the server hasn’t configured the necessary CORS headers, while the second might suggest an internal server issue that is getting misinterpreted as a CORS error.
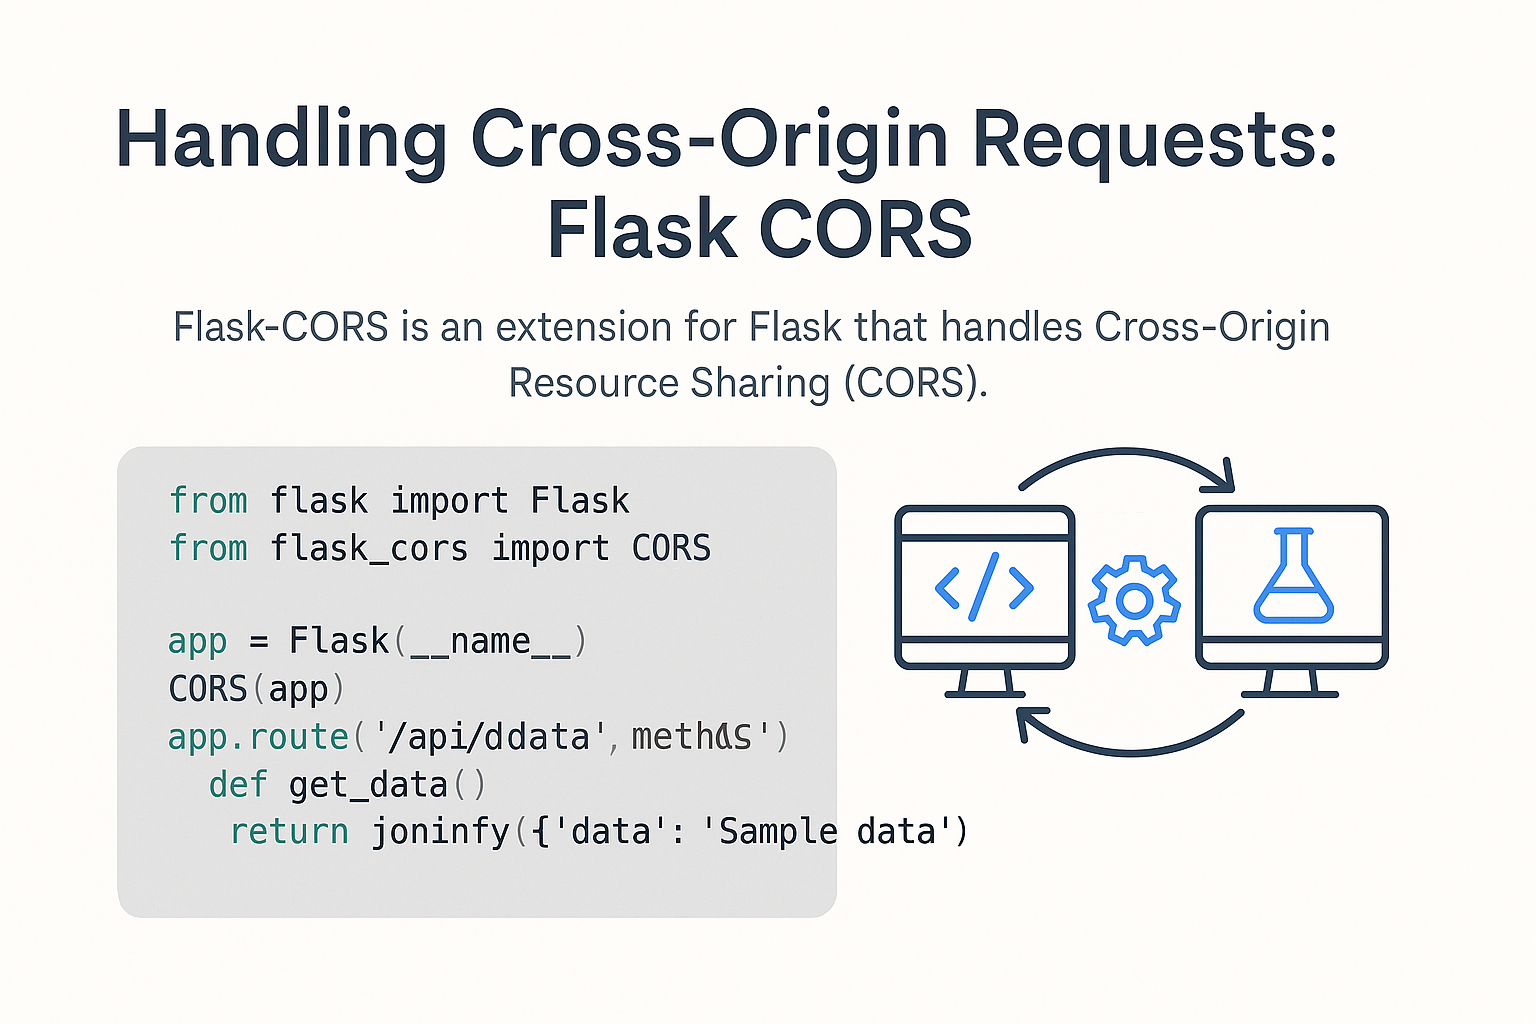
How to Fix CORS Issues in Flask with Flask-CORS
The easiest way to fix CORS issues in Flask is by using the Flask-CORS extension, which simplifies adding the necessary headers to your responses. You can read more about the extension on the Flask-CORS GitHub repository.
Step 1: Install Flask-CORS
First, you need to install the Flask-CORS package. You can do this using pip:
pip install Flask-CORS
Step 2: Basic Configuration
After installation, you can configure Flask-CORS in your app. To enable CORS globally across all routes, add the following to your Flask application:
from flask import Flask
from flask_cors import CORS

app = Flask(__name__)

# Enable CORS for all routes and origins
CORS(app)

@app.route("/api/example", methods=["GET"])
def example():
    return {"message": "CORS is enabled!"}

if __name__ == "__main__":
    app.run(debug=True)
This will allow all origins (indicated by the wildcard *) to access your API.
Advanced Configuration: Restricting CORS
In some cases, you may not want to allow all origins. For security reasons, you might restrict access to specific domains.
Step 3: Restricting Access to Specific Origins
To restrict which origins can access your API, you can specify a list of allowed origins:
CORS(app, resources={r"/api/*": {"origins": "http://localhost:3000"}})
In this example, only requests from http://localhost:3000 can access any route that matches /api/*. This allows you to control access to your API on a per-origin basis.
To learn more about connecting Flask with databases, see our Flask SQLAlchemy quickstart guide.
Step 4: Using CORS on Specific Routes
If you need to allow CORS only for specific routes rather than the entire app, you can apply the @cross_origin() decorator to individual routes:
from flask_cors import cross_origin

@app.route("/api/specific", methods=["GET"])
@cross_origin(origins="http://localhost:3000")
def specific_route():
    return {"message": "CORS is enabled for this route only!"}
This approach is useful for more granular control over CORS policies.
Handling CORS with Credentials
Sometimes, you’ll need to allow requests that include credentials such as cookies or HTTP authentication. To handle this, you must configure both the server and the client.
Step 5: Enabling Credentials Support
On the server side, you need to specify that the response supports credentials:
CORS(app, supports_credentials=True)
On the client side (e.g., in an AJAX request), you need to set the withCredentials option to true:
$.ajax({
    url: 'http://localhost:5000/api/secure-endpoint',
    type: 'GET',
    xhrFields: {
        withCredentials: true
    },
    success: function(data) {
        console.log(data);
    }
});
By enabling credentials, the browser will send and receive cookies along with the request.
How to Debug and Fix CORS Issues in Flask
CORS errors can sometimes be deceptive. Here are a few common issues and how to troubleshoot them:
- 500 Internal Server Error:
- If your browser console reports a CORS error but the status code is
500, it’s likely an issue with your Flask endpoint itself. Before troubleshooting CORS, ensure the route is functioning correctly by checking your logs or running your API in debug mode.
- If your browser console reports a CORS error but the status code is
export FLASK_ENV=development
- No ‘Access-Control-Allow-Origin’ Header:
- If you see this error, it’s a clear sign that the necessary CORS headers aren’t present in the response. Ensure that Flask-CORS is installed and properly configured.
- Wrong Protocol (HTTP vs HTTPS):
- Double-check that the URLs in your client requests use the correct protocol (
httporhttps). Sometimes, usinglocalhostwithout specifyinghttp://can cause issues.
- Double-check that the URLs in your client requests use the correct protocol (
Manually Handling CORS (For Advanced Users)
While using Flask-CORS is the easiest way to manage CORS, you can also manually add the necessary headers in Flask. This approach provides more control but requires more effort:
@app.after_request
def add_cors_headers(response):
    response.headers.add('Access-Control-Allow-Origin', '*')
    response.headers.add('Access-Control-Allow-Headers', 'Content-Type,Authorization')
    response.headers.add('Access-Control-Allow-Methods', 'GET,POST,PUT,DELETE,OPTIONS')
    return response
This ensures that every response includes the appropriate CORS headers.
Common Mistakes and How to Avoid Them
- Forgetting to Install Flask-CORS:
- Ensure
Flask-CORSis installed and imported correctly.
- Ensure
- Not Using CORS on All Methods:
- CORS applies to all HTTP methods, so make sure you include
OPTIONSif you’re handling preflight requests.
- CORS applies to all HTTP methods, so make sure you include
- Mixing Up Debugging Tools:
- Remember that tools like Postman or cURL bypass the browser’s CORS policy. Errors you see in the browser might not appear in Postman, so always test CORS issues using the browser’s developer tools.
Final Thoughts: Easily Fix CORS Issues in Flask
Handling CORS in Flask doesn’t have to be a headache. By using the Flask-CORS extension, you can quickly enable cross-origin requests for your API. Whether you need to allow all origins or restrict access to specific domains, this guide has covered everything from basic setup to advanced configurations, including handling credentials and manual CORS header management.
For more technical details, visit the official Flask documentation.
Comments